Bicycle Hire Deposit Checklist
A practical step-by-step guide to bicycle hire deposit checklist, including preparation, instructions, common issues, tips, and next steps.

Bicycle Hire Deposit Checklist
A bicycle hire deposit checklist helps you understand what a rental company may hold, why it may hold it, and how to get it returned without disputes. It covers pre-rental questions, inspection habits, documentation, and return procedures so you can ride with confidence and avoid surprise charges.
Fast Answer
- Ask what the deposit covers, how it is collected, and what conditions trigger a deduction before you sign or pay anything.
- Photograph the bicycle and every accessory at pickup and return, then keep written confirmation that the deposit was released.
Before You Start
- Read the rental agreement or terms page and note the deposit amount, payment method, cancellation policy, and damage definitions.
- Prepare a payment method that allows a temporary hold and confirm how long a release usually takes for that method.
- Bring a photo-taking device with enough storage and battery to document the bicycle, accessories, and existing damage.
- Decide who will inspect the bicycle with you at pickup and return so a staff member can confirm condition in person.
Step-by-Step Instructions
Confirm the deposit terms before paying
Before you hand over any payment, ask the rental staff to explain the deposit in plain language. Find out the exact amount, whether it is a hold or a charge, which payment methods are accepted, and what timeline applies for release. Ask what specific damage, late return, cleaning, or missing accessory could reduce the deposit. Read the rental agreement and point to the deposit clause so both sides discuss the same words. If anything is unclear, ask for it in writing or by message before you continue. This check matters because deposit rules vary widely between rental businesses, and a clear record protects you from surprise deductions later. Keep a copy of the terms with your rental documents.
Inspect the bicycle and record existing damage
Walk around the bicycle with a staff member and look closely at the frame, wheels, tires, brakes, gears, chain, pedals, saddle, handlebars, bell, lights, and basket or rack. Test the brakes and shift through the gears briefly if the staff allow it. Note every scratch, dent, crack, bent part, loose bolt, worn tire, or missing accessory you can see. Take clear photos and a short video from several angles, including close-ups of any existing damage. Ask the staff member to confirm the notes on the rental form and to sign or initial them. This step matters because damage that already exists should never be blamed on you at return. Your photos and signed notes become the shared record of the bicycle's true condition.
Document every accessory and its condition
Count and photograph every item that comes with the rental, such as the lock, key, helmet, lights, pump, repair kit, basket, child seat, or phone mount. Check that each item works: test the lock, switch on the lights, and confirm the helmet size and straps. Ask what happens if an accessory is lost, stolen, or returned damaged, and whether the deposit covers replacement or only repair. Write the accessory list on the rental form and keep your own copy. This check matters because accessories are small, easy to misplace, and often carry separate deposit conditions. A complete list prevents arguments about whether an item was ever handed to you. Store the list and photos together so you can find them quickly at return.
Set your own return deadline and route plan
Write down the exact return date, time, and location, then plan your ride so you arrive with time to spare. Confirm whether the shop closes for lunch, has limited weekend hours, or requires an appointment for returns. Ask whether a late return triggers a fee, a reduced deposit, or a full deposit loss, and note the grace period if one exists. Set a reminder on your phone an hour before the deadline so you are not rushing at the end. This step matters because many deposit disputes begin with a rushed or late return. When you arrive calmly, you can inspect the bicycle properly and resolve questions before staff close the transaction. Keep the return address and contact number saved offline in case your phone loses signal.
Do a joint return inspection and compare notes
At return, ask a staff member to inspect the bicycle with you instead of leaving it and walking away. Compare the current condition against your pickup photos and the signed damage notes. Point out anything that changed during your ride and explain what happened. Check that all accessories are present and working, and that the lock and key are accounted for. Ask the staff member to mark the bicycle as returned on your copy of the form. If they find new damage, ask them to show you exactly where and to explain how the deposit will be affected. This step matters because a joint inspection creates a shared record at the moment of return. It also gives you a chance to correct mistakes before the shop processes the deposit.
Track the deposit release and follow up
After the return, check your payment method or account to confirm the deposit hold was released or the charge was refunded. Keep the return receipt, inspection notes, and photos until the money is fully resolved. If the release does not appear within the timeline stated in the agreement, contact the rental business in writing with your rental reference number. Ask for a written explanation of any deduction, including the specific damage or rule involved. If the response is unclear, request a manager review and keep copies of every message. This step matters because a hold can linger quietly and reduce your available funds for other needs. Polite, documented follow-up usually resolves delays faster than a phone call with no paper trail.
Quick Reference
| Situation | Action | Why it helps |
|---|---|---|
| You are about to pay a deposit but the terms are only explained verbally. | Ask the staff to show you the deposit clause in the rental agreement, then request a written summary by message or email before you pay. | Written terms give you a shared record of the amount, conditions, and release timeline, which makes later disagreements easier to resolve with evidence. |
| You notice a scratch or dent on the bicycle at pickup. | Photograph the damage, ask the staff member to write it on the rental form, and have them sign or initial the note before you ride away. | Existing damage recorded at pickup cannot fairly be charged to you at return, and the signed note proves both sides saw the same condition. |
| The deposit has not returned after the stated release period. | Contact the rental business in writing with your rental reference, ask for the release confirmation, and request a written reason for any deduction. | A written follow-up creates a timeline and forces a specific answer, which is far more effective than waiting or relying on a forgotten phone call. |
Common Issues
- The rental agreement mentions a deposit but does not explain what can reduce it.: Ask a staff member to list every condition that can affect the deposit, such as damage, late return, cleaning, or missing accessories, and ask them to write those conditions on your receipt or send them by message before you pay.
- You return the bicycle but no one inspects it with you, and later the shop claims new damage.: Before leaving, ask for the return condition to be written on your receipt, take dated photos of the bicycle at the return location, and request a copy of any inspection report the shop creates after you leave.
- The deposit hold stays on your payment method longer than expected and affects your available balance.: Check your payment method terms for typical hold release times, keep the rental receipt with the stated timeline, and contact the rental business in writing if the release exceeds that period so you have a dated record of your request.
Advanced Tips
- Create a simple pickup template on your phone with fields for date, time, deposit amount, accessories, damage notes, and staff name, then fill it in before every rental so nothing is forgotten.
- Ask whether the deposit can be paid by a method that places a hold instead of a charge, and confirm how that method handles release timing, since the two behave differently in your account.
- If you rent often, keep a folder of past agreements and return receipts so you can compare terms between shops and spot unusual deposit conditions before you commit.
Final Checklist
- Deposit amount, payment method, release timeline, and deduction conditions are written down and copied.
- Pickup photos and a signed damage note cover the frame, wheels, brakes, gears, and every accessory.
- Return date, time, and location are saved, with a reminder set before the deadline.
- Return receipt, inspection notes, and deposit release confirmation are kept until the matter is fully closed.
FAQ
Is a deposit the same as a rental fee?
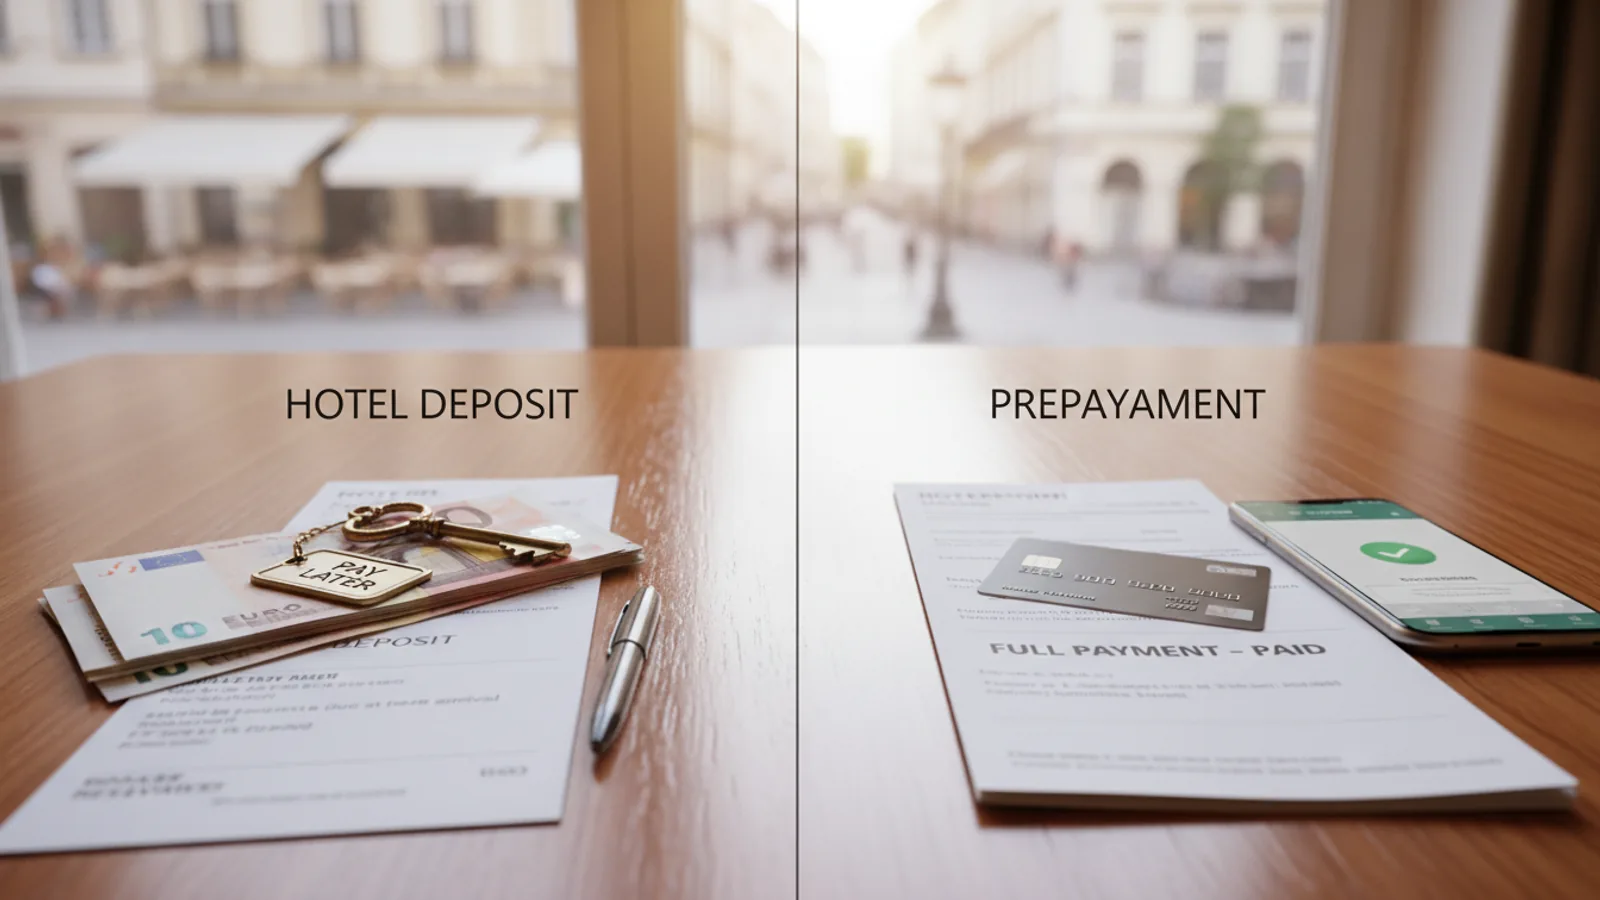
No. A rental fee pays for the use of the bicycle, while a deposit is a temporary hold or payment that should be returned when you bring the bicycle back in the agreed condition. Some businesses collect the deposit as a hold on your payment method, and others charge it and refund it later. Ask which method applies to your rental, because the release timeline and the way it affects your available balance can differ. Always keep the receipt that shows what was collected and what was returned.
What should I do if the shop wants to keep part of my deposit?
Ask for a written explanation that names the specific damage, missing item, or rule involved, and request photos or an inspection report that support the claim. Compare that evidence with your pickup photos and signed damage notes. If the explanation conflicts with your records, reply in writing with your evidence and ask for a manager review. Keep every message and receipt. A calm, documented request is more likely to resolve the issue than an argument at the counter with no paper trail.
How long should a deposit release take?
Release times depend on the rental business, the payment method, and your own bank or provider, so no single timeline fits every situation. Ask the rental staff what period they normally quote, then check your payment method documentation for how holds are released. If the period passes without a release, contact the rental business in writing with your rental reference. Keep your return receipt and inspection notes until the deposit is fully resolved, because they are the evidence you need if a delay turns into a dispute.