Comparing Station To Hotel Walking Routes
A practical step-by-step guide to comparing station to hotel walking routes, including preparation, instructions, common issues, tips, and next steps.
Comparing Station To Hotel Walking Routes
This guide teaches you how to compare walking routes from a station to a hotel. You will learn to measure distance, estimate time, assess safety, and choose the best path. The steps help you prepare, evaluate options, and make a confident decision for any arrival time or weather.
Fast Answer
- Use a map tool to measure distance and elevation change between the station and hotel before you travel.
- Walk the route once if possible, or study street-level images to check lighting, crossings, and sidewalk width.
Before You Start
- Write down the station exit name and the hotel entrance location, because large stations have multiple exits that lead to different streets.
- Check the weather forecast for your arrival time and note sunrise or sunset, since darkness changes how you judge safety and visibility.
- List your luggage size and weight, as heavy bags make stairs, cobblestones, and long distances much harder to manage.
- Note any mobility needs or travel companions, because steep hills or narrow paths may require a different route choice.
Step-by-Step Instructions
Measure the straight-line and walking distance
Open a mapping tool and place the station exit as your start point and the hotel entrance as your end point. First, note the straight-line distance, then switch to the walking directions mode to see the actual path length. Write both numbers down. A route that looks short on a straight line may be much longer because of rivers, rail tracks, or one-way streets. Next, add an elevation profile if the tool offers it. Even a gentle hill can add several minutes when you carry bags. Check the distance against your comfort limit: many people prefer under twenty minutes of walking with luggage, but that varies. Finally, repeat the measurement from a different station exit, because the exit you use can change the total distance by several blocks. This first measurement gives you a baseline for comparing all other routes.
Estimate walking time with realistic adjustments
Most map tools show a default walking time based on a steady pace on flat ground. That number is a starting point, not a promise. Add time for each factor you know: heavy bags, rain, snow, or heat. A common approach is to add a few minutes for every ten minutes of base time when you carry luggage. Next, check for traffic lights and major crossings along the route. Each signalized crossing can add one to three minutes depending on the cycle. If the route includes stairs or steep ramps, add more time. Then compare your adjusted time to the hotel check-in window and any planned activities. If the adjusted time is too long, look for a route with fewer crossings or a flatter path. Write your final estimate down and keep it with your travel notes. This adjusted time is what you should use when comparing routes, not the default number.
Check safety and lighting along the route
Safety is more than crime statistics; it includes visibility, traffic, and foot traffic. Start by viewing the route in a street-level map tool during both day and night modes if available. Look for long underpasses, dark alleys, or unlit parks. Next, read recent traveler comments about the area around the station and hotel. Focus on comments about lighting and how busy the streets feel after dark. Then identify any sections with no sidewalk or with sidewalks that are narrow or blocked. If you find such sections, look for an alternative street one block over. Also note whether the route passes open businesses or residences, because active areas often feel safer. Finally, check if there are safe places to stop, such as a lit store or cafe, if you need a break. A route that is slightly longer but well lit and busy is often the better choice.
Assess surface quality and accessibility
The surface of the route matters as much as its length. Cobblestones, gravel, or uneven pavement can slow you down and strain luggage wheels. Use street-level images to check the ground. Look for smooth pavement, curb cuts at crossings, and ramps instead of stairs. If you use a wheelchair, stroller, or rolling bag, these details are essential. Next, check for obstacles like construction barriers, parked cars blocking sidewalks, or narrow passages. Then check the hotel entrance: does it have steps, a ramp, or automatic doors? If the entrance is not accessible, you may need to ask the hotel for an alternative entrance. Also note any steep grades; even a short steep hill can be difficult with bags. Write down the surface type and any barriers. A route with smooth, flat surfaces may take a few minutes longer but will be far easier and safer.
Compare route options side by side
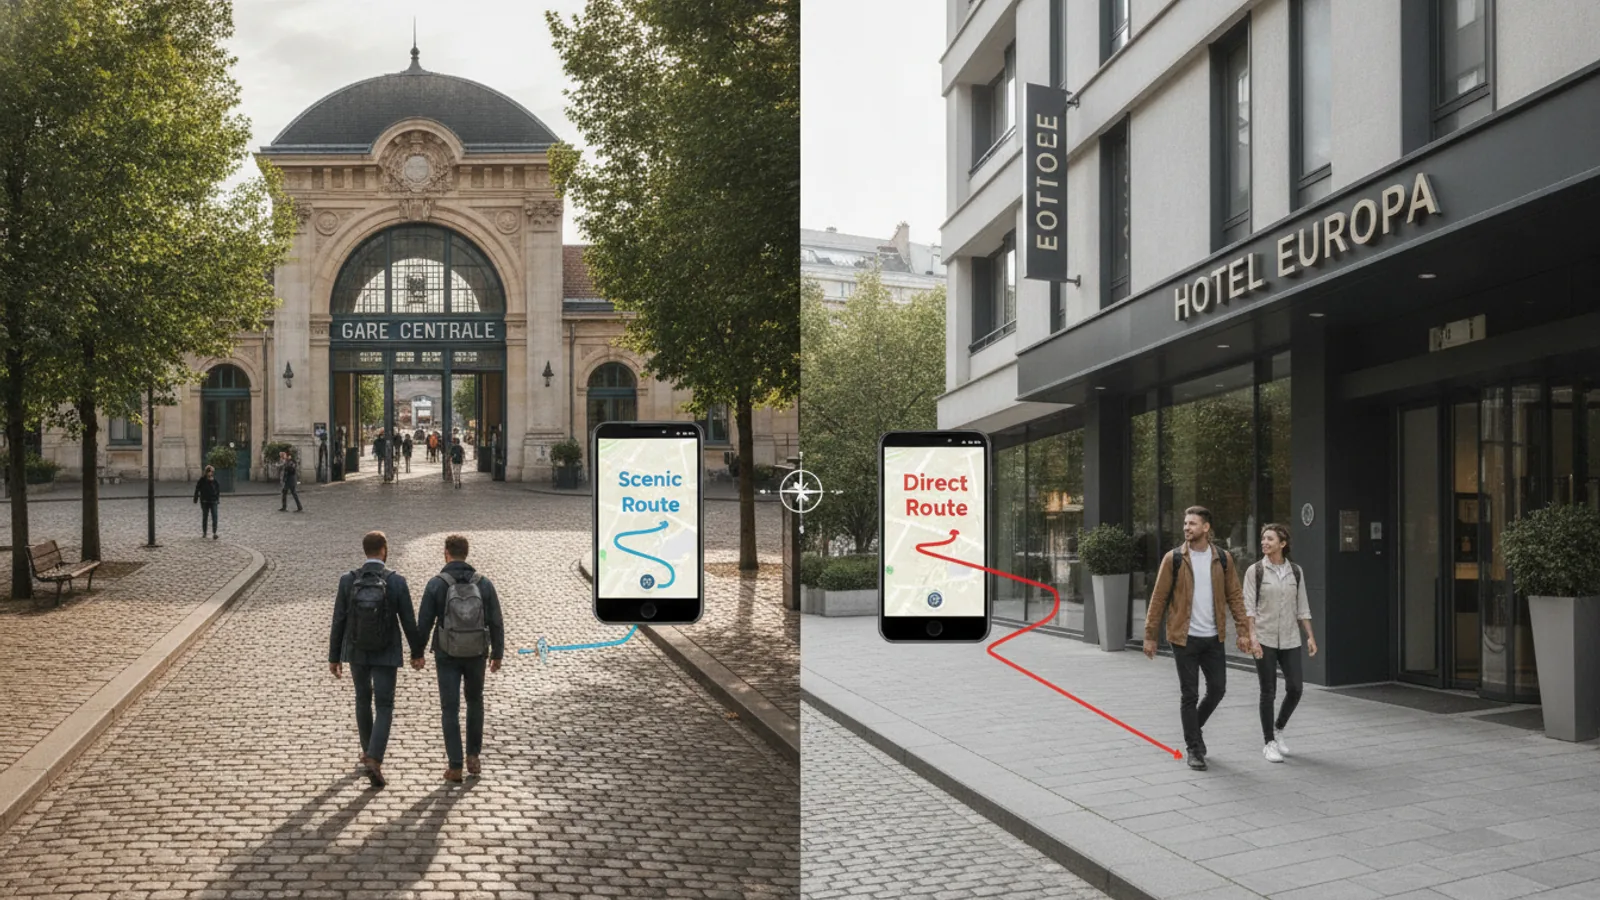
Now create a simple table or list with your top two or three routes. For each route, write the measured distance, adjusted time, safety notes, and surface quality. Then rank each factor from one to five, with five being best. For example, a route with good lighting gets a five, and a dark route gets a one. Add the scores for each route to get a total. This method helps you avoid choosing a route just because it is shortest. Next, consider your priorities: if you arrive at night, safety and lighting may matter more than distance. If you have heavy bags, surface quality and fewer stairs may be most important. After ranking, pick the route with the best total for your situation. Keep the second-best route as a backup in case of closures or unexpected delays. This side-by-side comparison turns a vague choice into a clear decision.
Prepare backup plans and final checks
Even the best route can be blocked by construction, events, or weather. Before you travel, identify at least one backup route and note its key differences. For example, a backup might use a different station exit or a parallel street. Next, save an offline map or screenshot of both routes in case your connection is slow. Then check the hotel's check-in time and any instructions about which entrance to use, because some hotels have a main entrance on a different street. Also note nearby landmarks, such as a park or a large store, to help you recognize when you are close. Finally, plan a rest point, like a cafe, if the walk is long. On arrival, do a quick visual check of the route before you start walking. If something looks off, switch to your backup. This preparation keeps you calm and in control.
Quick Reference
| Situation | Action | Why it helps |
|---|---|---|
| You arrive at night and the direct route is poorly lit. | Choose a slightly longer route that follows busy, well-lit streets and passes open businesses, then confirm the hotel's entrance is open and visible from that direction. | Well-lit, active streets improve visibility and the chance of getting help, which matters more than saving a few minutes after dark. |
| You have heavy luggage and the shortest route includes stairs. | Select a route with ramps or curb cuts and smooth pavement, even if it adds walking time, and check the hotel entrance for step-free access before you commit. | Stairs and uneven surfaces with heavy bags increase fatigue and the risk of falls, so a smoother path is safer and easier. |
| The map shows a very short walk but you are unsure about crossings. | Use a street-level view to count traffic signals and major intersections, then add a few minutes per signal to your time estimate and look for a route with fewer crossings. | Multiple crossings can add significant time and exposure to traffic, so counting them gives you a realistic time and a safer choice. |
Common Issues
- The map tool shows a walking route that goes through a closed private area.: Check the route in a second mapping tool or street-level view to confirm the path is public. If it is not, look for a nearby public street and recalculate. Always verify access before you rely on a route, because private paths can be locked or restricted.
- You cannot tell if the route is safe after dark from the map alone.: Read recent traveler comments about the area and look for mentions of lighting, foot traffic, and how the streets feel at night. Combine that with street-level views at your arrival time. If you still feel unsure, choose a route along main streets and consider a taxi or ride for the final stretch.
- The hotel has multiple entrances and you are not sure which one to use.: Check the hotel's booking confirmation or contact the front desk to ask which entrance is open at your arrival time and whether it is step-free. Then update your route to end at that entrance. Using the wrong entrance can add a long walk around the building, especially with luggage.
Advanced Tips
- Use elevation gain and loss data to compare routes: a route with gradual slopes is easier than one with a single steep hill, even if the total distance is the same.
- Check for temporary closures or events on the day of travel by looking at local notices or asking the hotel, because a parade or market can block your chosen path.
- Measure the distance from the station platform to the street exit, not just the street walk, since large stations can add several minutes of indoor walking before you even start the route.
Final Checklist
- Confirm the exact station exit and hotel entrance you will use, including whether the hotel entrance is open at your arrival time.
- Write down the measured distance, adjusted time, and surface quality for your chosen route and one backup route.
- Check weather, daylight, and any known events that could affect the route on your travel day.
- Save an offline map or screenshot of both routes and note a rest point or landmark along the way.
FAQ
How do I measure walking distance without a special app?
You can use a free online map tool on any device. Enter the station exit and hotel address, then switch to walking directions. The tool will show the distance and estimated time. If you prefer, you can also use a paper map and a ruler with the map's scale, but online tools are faster and include elevation data.
What if the route looks safe on the map but feels unsafe when I arrive?
Trust your instincts. If a street feels unsafe, do not continue. Step into a nearby open business, such as a cafe or shop, and reassess. You can switch to your backup route, call the hotel for guidance, or take a taxi for the remaining distance. Your safety is more important than following a plan.
How can I compare routes if I have mobility needs?
Focus on step-free access, smooth surfaces, and curb cuts. Use street-level views to check for stairs, steep ramps, and narrow passages. Check the hotel entrance for ramps or automatic doors. If you are unsure, contact the hotel and ask specific questions about the entrance and the surrounding sidewalks. A slightly longer route with good access is almost always better.